How to draw complex areas
Contents:
Introduction
1. Drawing the boundary lines
2. Drawing the complex area
3. The final result
Introduction
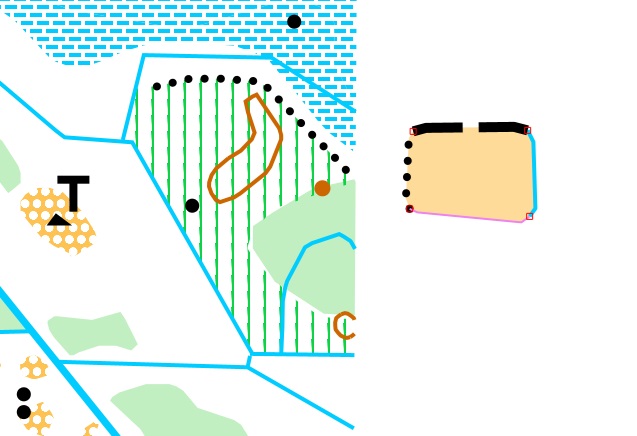
In this exercise we are going to draw a complex area starting by first defining the boundaries.
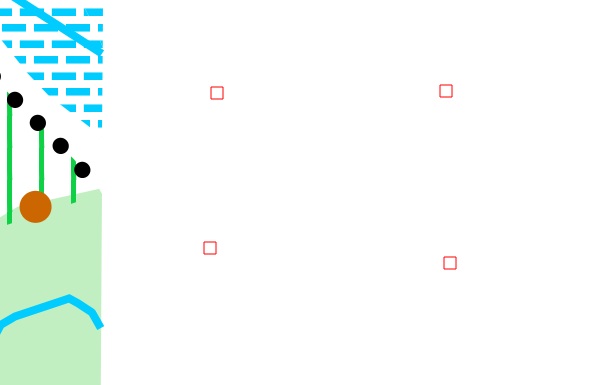
The very first thing we do is to map some node points(4).
Using nodes to draw areas is one of the basic concepts in GIS(Geographic Information System) mapping.
We will draw our new area(to the right) just outside an existing map(to the left).
1. Drawing the boundary lines
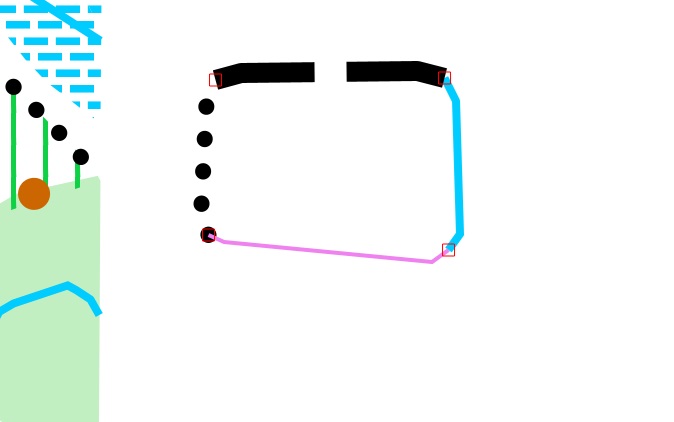
This area is defined by four(4) boundaries, Footpath (505, top), Small crossable watercourse (305, right), Boundary line (1002, bottom) and Distinct vegetation boundary (416, left).
First we will draw our footpath.
Put your first vertex near a node and Fieldworker will snap to that node automatically. The beginning of the footpath will share coordinate values with the node point.
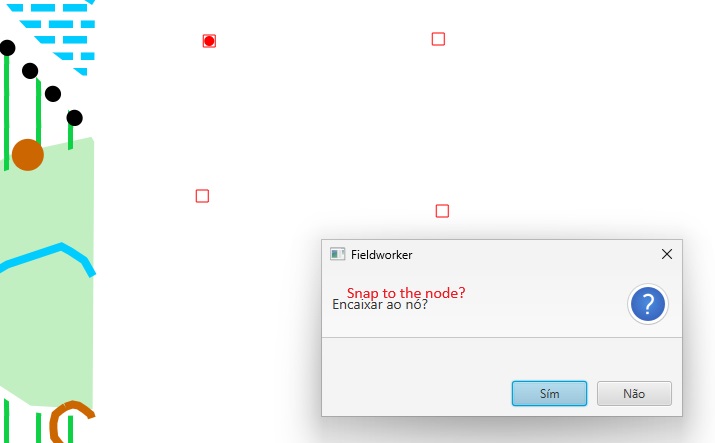
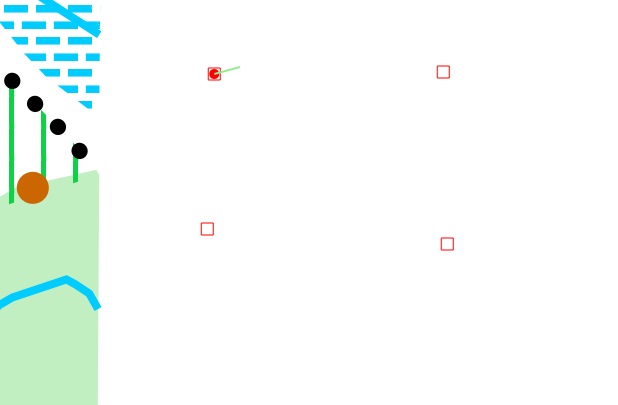
Put your last vertex near a second node and Fieldworker will snap to that node also(automatically). The end of the footpath will share coordinate values with the second node point.
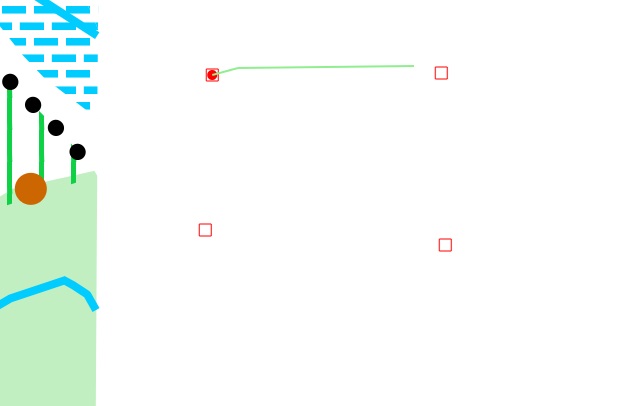
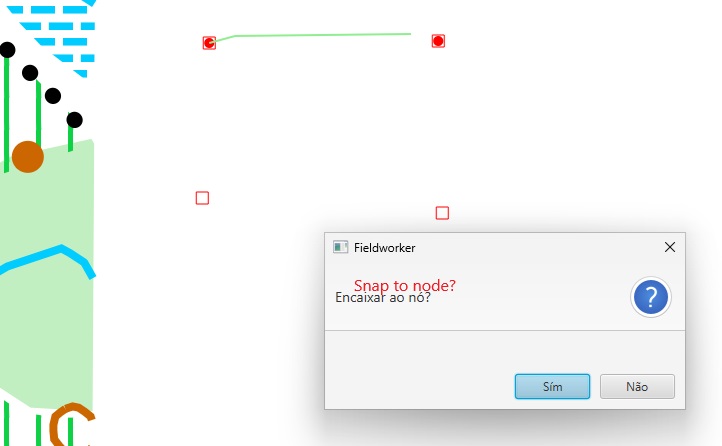
The first boundary line is ready, our foothpath.
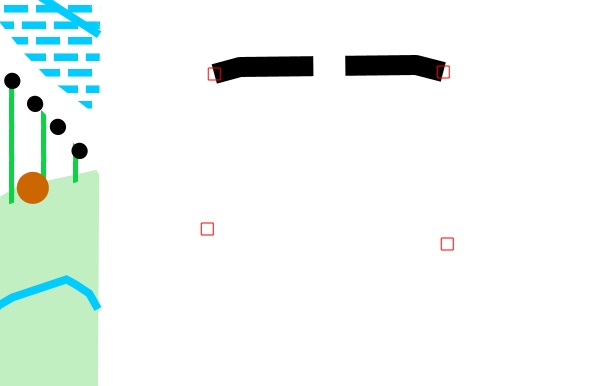
The next thing we will do is to define a small crossable watercourse beginning at node nr 2, the end of our footpath.
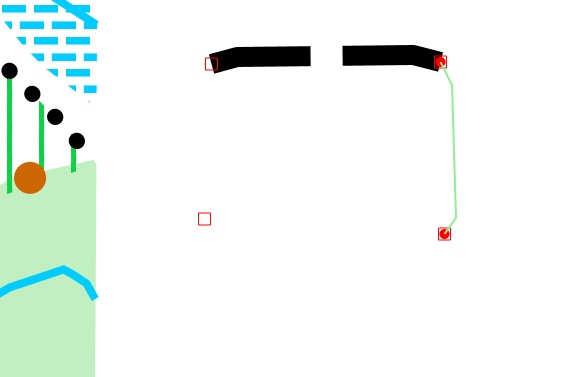
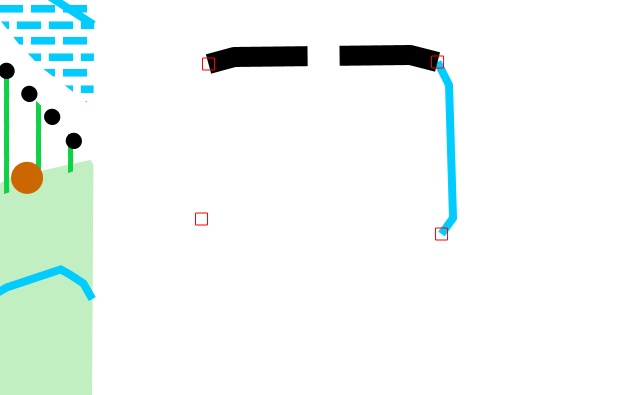
The next thing we will do is to define a boundary line beginning at node nr 3, the end of our crossable watercourse.
The Boundary line(1002) is used when there is no other polygon object(according to ISOM rules) to choose.
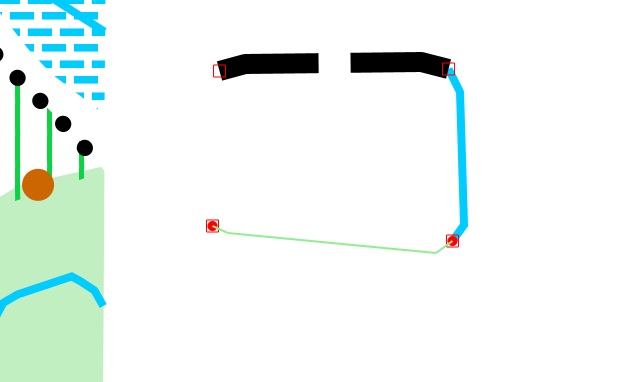
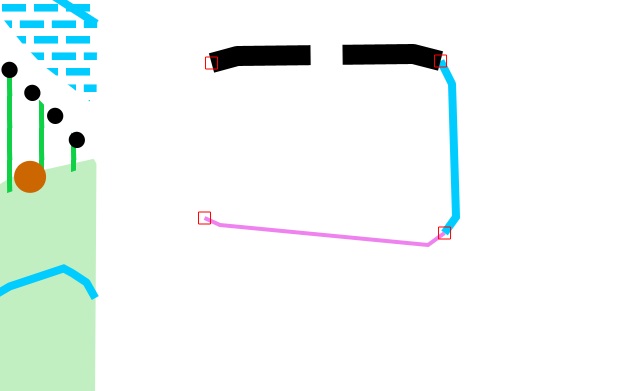
Finally we draw a distinct vegetation boundary connecting to node nr 1.
2. Drawing the complex area
Choose the command Join two polygons(Junte dois polígonos) among the GIS-tools.
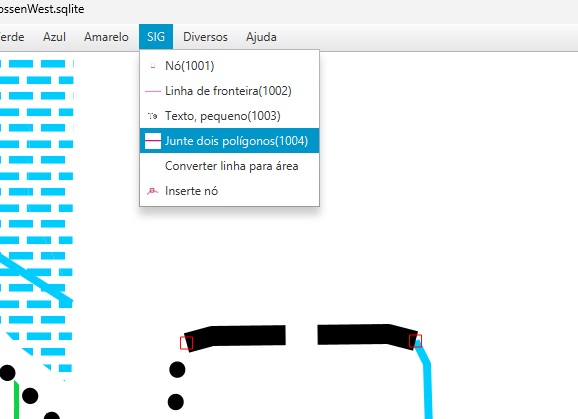
To begin with we choose the first boundary line by pointing at a vertex on the polyline.
Tip: - It is a good practice to start by using Ctrl-W(or just W on the keyboard) to highlight some vertexes.
One polygon will be marked with white color.
Choose the polyline by clicking OK(Sím).
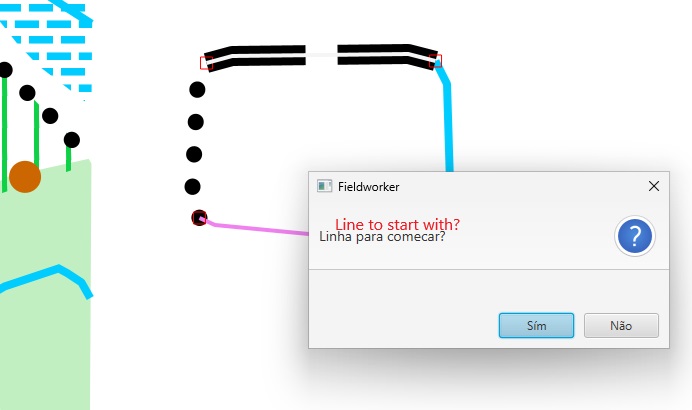
Next we choose the second boundary line by pointing at a vertex on the polyline.
Another polygon(the second) will be marked with white color.
Choose the polyline by clicking OK(Sím).
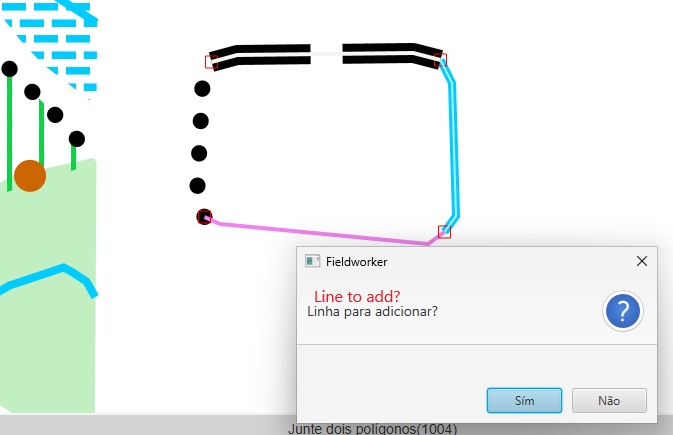
Clicking Ok(Sím) will take us to a new message box asking us whether to continue(choosing polylines) or whether to stop.
Note that there is an option here to save boundary line as an area. We click this button soon to end our work and get a new area(403).
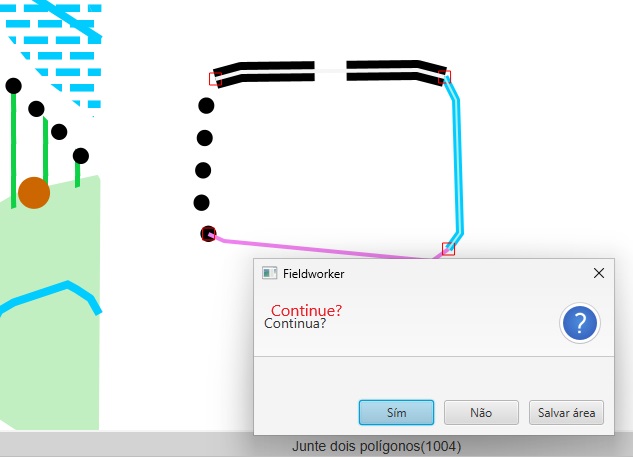
Repeat the steps above as many times as necessary, here two times.
Now we need to convert our polyline into an area object.
Choose type of area(ISOM code) by clicking in the listbox. Here Rough open land(403).
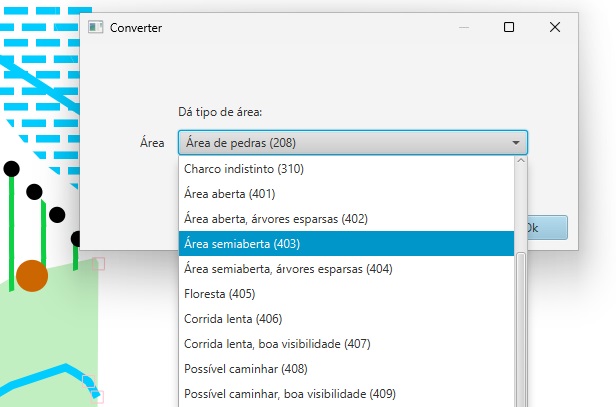
The area object will now be produced automatically. The screen will redraw itself.
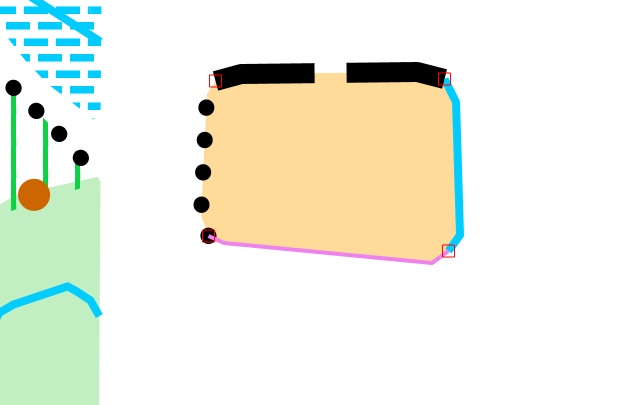
3. The final result
Here the map is zoomed out. The new complex area is drawn just outside the old map.
No boundary line needs to be deleted because it is never saved, just converted.